Nanoblock Godzilla is not one specific kit. The name covers several officially licensed builds, from small Mininano kaiju to the 630-piece Godzilla 2016 model and the 3,650-piece Godzilla (2023) Deluxe Edition, NB-063. The best choice depends on whether you want an accessible collectible, a compact character model or a large, advanced display piece.
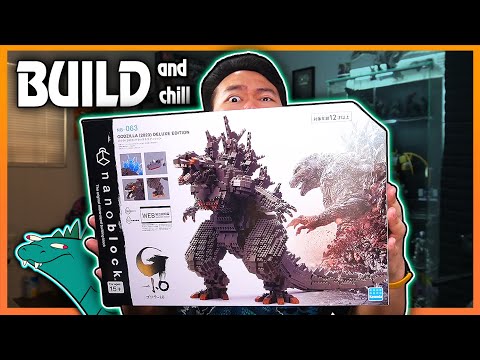
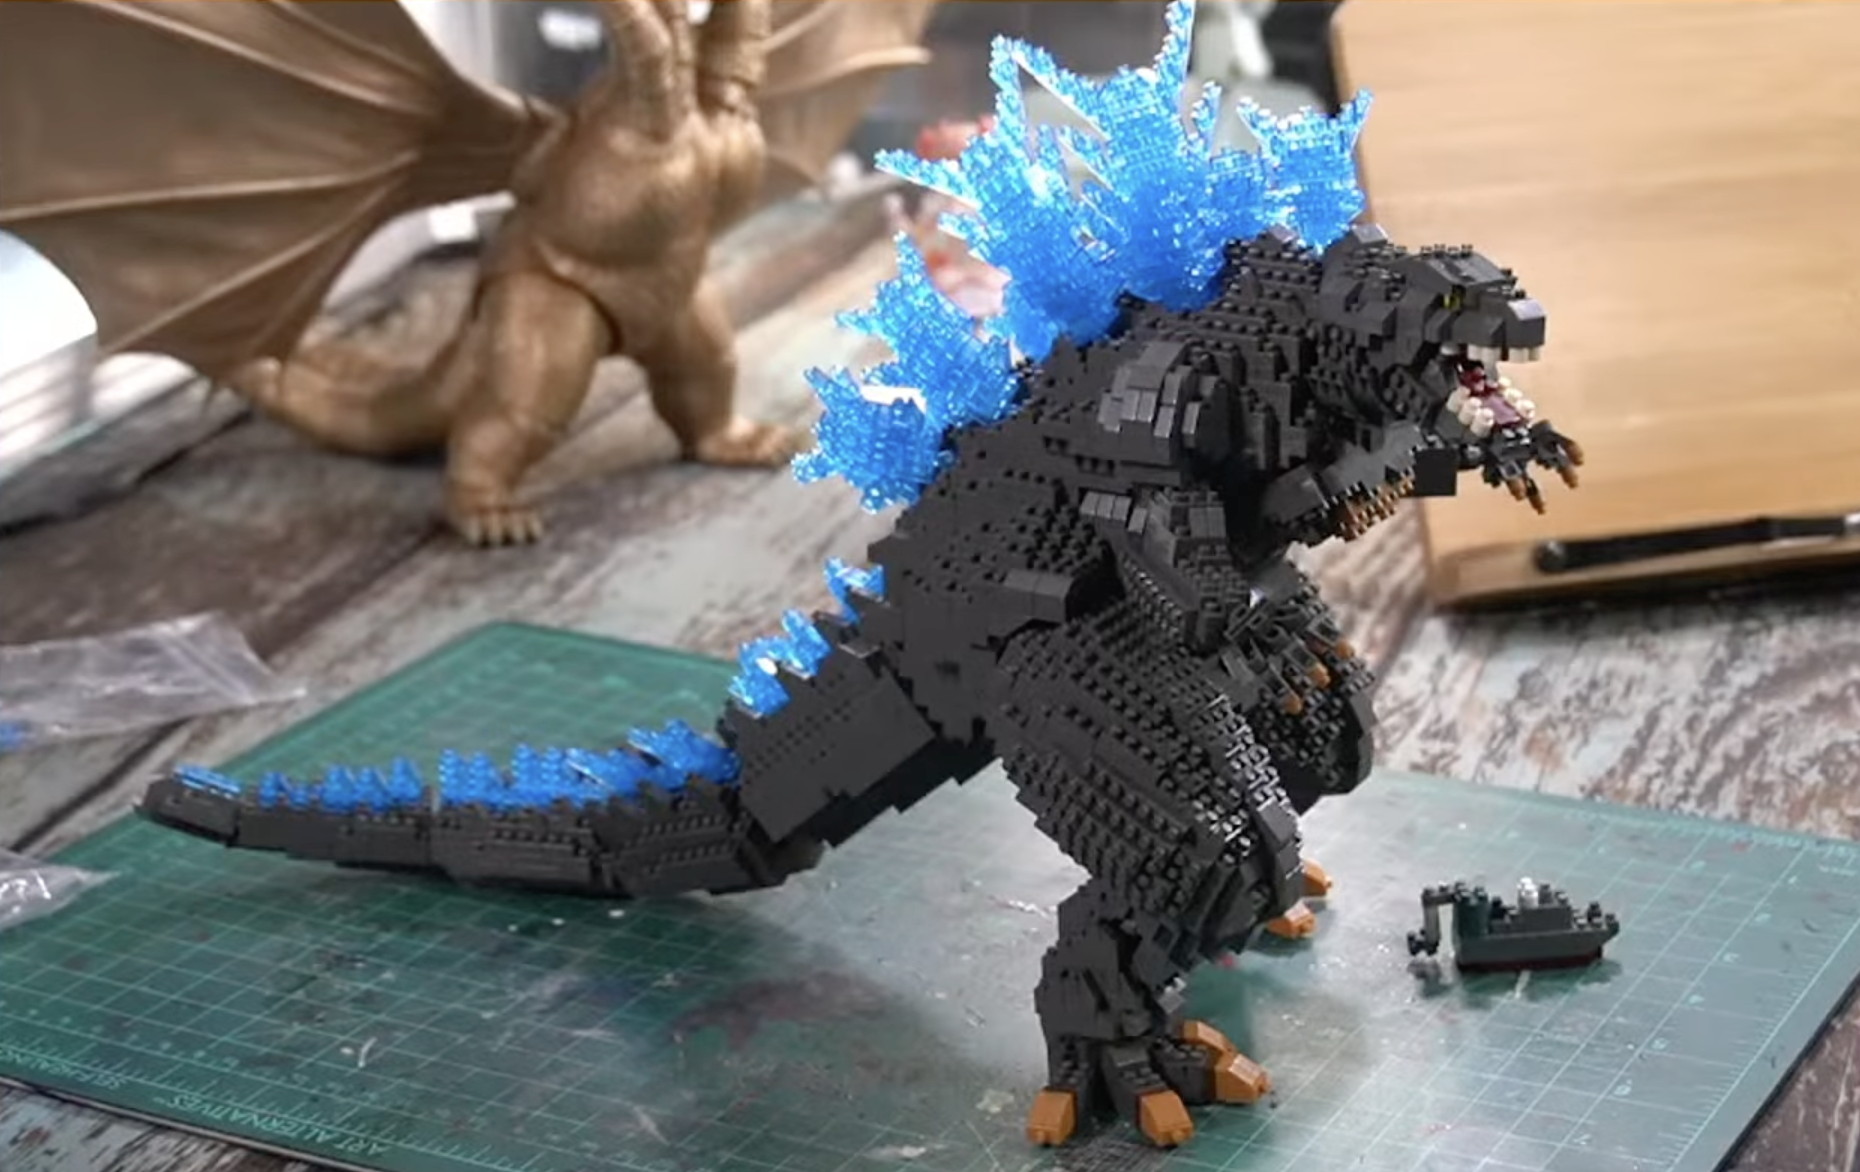
For most collectors searching for “Nanoblock Godzilla” today, NB-063 is the flagship choice. Based on Godzilla’s appearance in Godzilla Minus One, it stands about 24.5 cm tall and 38.8 cm deep, includes the Shinsei Maru vessel, has movable body sections and can display either normal or heat-ray dorsal plates.
Quick recommendation: Choose NB-063 for a large centerpiece and a long, demanding project. Choose Godzilla 2016 for a smaller but still difficult character build. Choose a Mininano assortment for inexpensive, beginner-friendly collecting.
Godzilla sets compared
| Set | Product code | Pieces | Difficulty | Best for |
|---|---|---|---|---|
| Godzilla (2023) Deluxe Edition | NB-063 | 3,650 | 5/5 | Large Godzilla Minus One display and advanced builders. |
| Godzilla 2016 / Shin Godzilla | NBCC_059 | 630 | 5/5 | Experienced builders wanting a compact Shin Godzilla. |
| Godzilla Mininano Vol. 1 | NBMC_12 / regional code may vary | Six small characters per complete assortment | Entry level | Classic kaiju collecting (Godzilla, 2nd Form, Gigan, Mothra, King Ghidorah, etc.). |
| Godzilla Mininano Vol. 2 | NBMC_49S | Six small characters per complete assortment | Entry level | Expanding a Mininano kaiju collection (Rodan, Destoroyah, Biollante, Mecha-King Ghidorah, SpaceGodzilla, etc.). |
Product codes and packaging can vary by market, so compare the number printed on the box with the listing before buying. Prices and availability change frequently; discontinued products may appear only through specialist retailers or secondary marketplaces.
Which set should you choose?
Choose NB-063 for a centerpiece
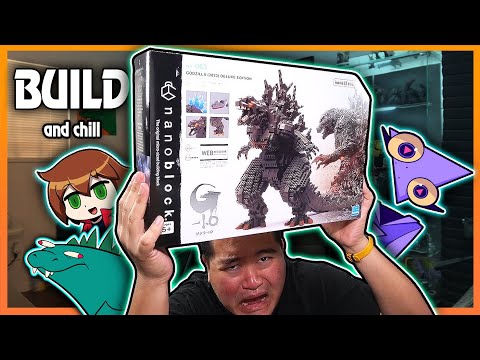
The Godzilla (2023) Deluxe Edition is the most ambitious option. Kawada lists a built size of 187 × 245 × 388 mm and a Japanese release date of August 9, 2025. Its neck, arms, feet and tail are movable, while the face and chest reproduce details from the 2023 film design.
This is the right kit if you:
- Want the largest and most detailed Nanoblock Godzilla covered here.
- Enjoy projects that take multiple long sessions.
- Have room for a model almost 40 cm from front to back.
- Are comfortable sorting thousands of tiny, similar-looking parts.
- Prefer a display model over a toy intended for frequent handling.
Choose Godzilla 2016 for Shin Godzilla
NBCC_059 depicts Godzilla’s 2016 incarnation from Shin Godzilla. It contains 630 pieces and carries a 5/5 difficulty rating, making it much smaller than NB-063 without necessarily making it beginner-friendly. Bandai’s official build video identifies the model as Godzilla 2016, also known as Shin Godzilla.
Choose it if the 2016 design matters more to you than maximum size. Its smaller footprint also makes it easier to display, although the intricate dorsal plates, tail and dark parts still require careful alignment.
Choose Mininano for collecting
Mininano sets reduce the characters to small desk-sized builds. Volume 1 is sold as a six-character Godzilla assortment featuring Godzilla, Godzilla Second Form, Gigan, Mothra and King Ghidorah among its lineup. Retail descriptions position the assortment as entry level, with characters around 2 inches tall on average.
These sets are better for beginners, smaller budgets and collectors who would rather display several kaiju than build one large model. Confirm whether a listing is a sealed individual blind box, a full six-box assortment or an already identified character before ordering.
NB-063 specifications
| Attribute | Detail |
|---|---|
| Official name | Godzilla (2023) Deluxe Edition |
| Product number | NB-063 |
| Source film | Godzilla Minus One |
| Manufacturer | Kawada |
| License | TM & © Toho Co., Ltd. |
| Piece count | 3,650 |
| Built size | 187 × 245 × 388 mm |
| Package size | 420 × 280 × 100 mm |
| Recommended age (Japan) | 12 and older |
| Moving sections | Neck, arms, feet and tail |
| Display options | Normal and heat-ray dorsal plates |
| Included accessory | Shinsei Maru vessel |
| Manual | Web-based; no paper instructions included |
All specifications above come from Kawada’s official NB-063 catalog listing.
Is NB-063 difficult?
Yes. The piece count is only part of the challenge. Many elements are extremely small, numerous gray pieces look similar, the bags are not numbered by build stage, and dense diagrams can make depth and one-stud offsets hard to interpret.
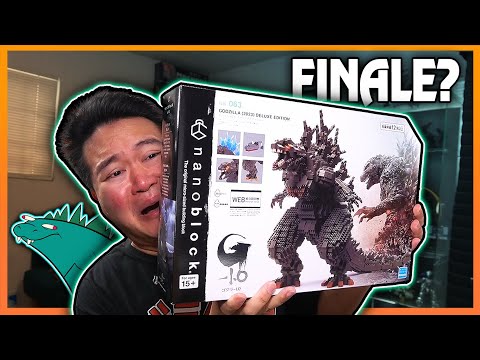
A recorded three-part build demonstrates the scale of the project. The torso occupied most of a six-hour first stream; a second stream ran for more than ten hours without completing the model. Those broadcasts include conversation, breaks and demonstrations, so they should not be treated as an average build-time benchmark, but they show why NB-063 should be planned as a multi-session project.
The model is therefore best for patient builders with good lighting, a permanent workspace and a reliable parts-organization system. It is a poor first Nanoblock project unless the builder accepts frequent checking and backtracking.
Official NB-063 instructions
NB-063 does not include a printed instruction booklet. Kawada states that its manual is available only on the web through the URL printed on the product packaging.
Use the manufacturer’s diagrams as the authoritative sequence:
Open the official NB-063 assembly instructions
This article is a practical companion rather than a substitute for that manual. Keep Kawada’s diagrams open throughout the build, and use the advice below to organize parts, interpret difficult stages and protect fragile subassemblies.
Before you begin
Choose a display version
NB-063 offers normal and heat-ray dorsal-plate presentations. Kawada describes the characteristic dorsal plates as interchangeable, while the build instructions direct the user through the appropriate version.
| Version | Appearance | Best reason to choose it |
|---|---|---|
| Normal | Gray dorsal plates | Neutral movie-style display. |
| Heat ray | Clear-blue dorsal elements | Brighter and more dramatic presentation. |
Keep the two groups of dorsal pieces separately labelled. Build and install one presentation at a time; do not treat the alternative components as parts for a second complete Godzilla. The video builder chose the heat-ray path and highlighted the clear-blue parts as one of the most visually appealing features of the build.
Prepare the workspace
Use a table that can remain undisturbed between sessions. A temporary dining-table setup becomes risky once the body, legs and long tail exist as separate large assemblies.
Recommended equipment:
- Laptop or large tablet for the digital manual.
- Bright directional lighting.
- Light or contrasting non-slip building mat.
- Compartment trays with lids or a bead/tackle organizer.
- Resealable bags and labels.
- Fine blunt tweezers.
- Nanoblock-compatible removal tool.
- Shallow tray for parts used in the current step.
- Small soft brush for collecting loose pieces.
- Camera for recording checkpoints before difficult connections.
A community discussion about NB-063 recommends inexpensive plastic containers, bead boxes or fishing-tackle organizers for the project. Keep children, pets, drinks and table fans away from the workspace because single-stud pieces can disappear easily./p>
Set up the manual
A laptop or tablet is more practical than a small phone because it allows you to inspect crowded layers without constantly zooming. Set the screen not to sleep, use landscape orientation where useful and keep the official block inventory available in another tab.
Do not rely on memory after looking at a diagram. Leave the relevant step visible until its exposed studs, orientation and new pieces all match your assembly.
Sort the pieces
The original bags are organized around part types rather than convenient numbered stages. In the build videos, progress improved considerably after the builder transferred parts to designated resealable bags.
Use this sorting process:
- Open only as much packaging as your workspace can contain safely.
- Separate pieces by color.
- Within each color, group pieces by shape and stud count.
- Isolate ball joints, sockets, claws, teeth, eyes and unusual curved elements.
- Keep clear-blue heat-ray pieces separate from normal dorsal pieces.
- Label every compartment or resealable bag.
- Reserve one empty tray for the current instruction step.
- Keep unused compartments closed.
Useful categories include:
- Warm-gray rectangular blocks.
- Warm-gray rounded pieces.
- Warm-gray single-stud elements.
- Dark-gray and black details.
- Brown and gold pieces.
- Clear-blue heat-ray pieces.
- Teeth and claws.
- Eyes and facial details.
- Ball joints and sockets.
- Long structural blocks.
- Shinsei Maru pieces.
- Unidentified or spare pieces.
Do not declare a part missing until every bag and compartment has been searched. In the second build stream, several scarce gold pieces initially appeared absent but were found after a more thorough search.
Read each diagram
Nanoblock diagrams compress several layers into a small area. A piece can look correct from above while being one stud too far forward, reversed or attached at the wrong depth.
Follow the same inspection routine for every step:
- Identify all newly added pieces.
- Collect and count those pieces before assembly.
- Find an obvious anchor in the preceding layer.
- Count studs from that anchor instead of estimating visually.
- Confirm the front, back, left and right orientation.
- Place pieces with moderate pressure.
- Compare the remaining exposed studs with the diagram.
- Apply even pressure only after the alignment is confirmed.
- Photograph major checkpoints before continuing.
If a part requires unusual force, stop. Check the piece, socket direction, layer depth and stud offset before pressing harder. Several fit problems during the recorded build resulted from interpretation or alignment and required backtracking.
Chapter guide
Kawada’s manual should control the exact brick-by-brick sequence. The following guide explains what to watch for as the model moves through its major assemblies.
| Phase | Assembly | Main risk | Best practice |
|---|---|---|---|
| 1 | Torso and chest | Hidden early offset affects later layers. | Use frequent symmetry and exposed-stud checks. |
| 2 | Left and right legs | Incorrect mirrored orientation or joint direction. | Finish one side, then use it as a mirrored reference. |
| 3 | Tail sections | Increasing leverage stresses new joints. | Support both sides of every connection. |
| 4 | Arms | Pressure applied through hands or claws. | Press only at the connection point. |
| 5 | Dorsal plates | Mixing normal and heat-ray components. | Arrange plates in installation order first. |
| 6 | Head and claws | Tiny finishing pieces are easy to lose. | Work over a rimmed tray under strong light. |
| 7 | Shinsei Maru and final assembly | Moving the model by a fragile extremity. | Lift with two hands under the torso and lower body. |
Common problems
| Problem | Likely cause | What to do |
|---|---|---|
| A required piece appears missing | Similar pieces remain in another bag or compartment. | Search by shape first, then color; check the official inventory. |
| A starting layer slides | It lacks later cross-bracing. | Use a non-slip mat and hold the anchor layer. |
| A section is one stud out | Diagram depth or offset was misread. | Count exposed studs from a recognizable anchor. |
| Right and left sides disagree | A repeated section was copied instead of mirrored. | Compare both from the same viewpoint. |
| A joint will not connect | Socket direction or surrounding structure is wrong. | Stop, inspect and backtrack; do not force it. |
| A chest or limb feels loose | Connection is incomplete or not yet reinforced. | Check the current and next official diagrams. |
| Tiny parts keep disappearing | Workspace lacks containment or contrast. | Use a rimmed tray and contrasting mat. |
| The digital manual is hard to read | Screen is too small. | Move to a tablet or laptop and zoom in. |
| Dorsal parts do not match | Normal and heat-ray components became mixed. | Re-sort before continuing. |
| The model leans | Feet, leg joints or tail position are uneven. | Return it to a flat surface and inspect all three areas. |
Should you use glue?
Avoid glue during the main build. Permanent adhesive makes alignment errors harder to correct, can damage the finish and may interfere with changing the dorsal-plate presentation.
Build-time planning and video guide
Plan for several sessions rather than one marathon. A sensible schedule is to finish a major assembly, photograph it, cover the parts and stop before fatigue causes alignment errors.
Part 1: Building this Godzilla Minus One by Nanoblock
This stream covers unboxing, first impressions, and the torso build.
Part 2: Continuing the NB-063 build
This stream shows reorganized parts, chest assembly and progress on the legs and body.]
Part 3: Finishing(?) the NB-063 build
The final stream attempts to complete the model and highlights remaining tricky sections.